Viewing entries in
Tips & Tricks

How to Carve a Chicken

2 Comments

How to Carve a Chicken

There are countless ways to cook a chicken. Roast it, grill it, stuff it, brine it. But the best way to finish off any bird is by carving it simply and effectively. You only need 2 knives to do this correctly. A sharp, small, boning knife will be the best tool for the majority of this procedure. A sharp chef's knife is useful for slicing the breast.

1) Check Done-nessWhen the breast reads 165 degrees F, remove the legs. Take the bird onto a cutting board, and cut along the thigh where the leg connects to the bird. When you get down to the bone, cut the joint between the thigh and the body while…

1) Check Done-ness

When the breast reads 165 degrees F, remove the legs. Take the bird onto a cutting board, and cut along the thigh where the leg connects to the bird. When you get down to the bone, cut the joint between the thigh and the body while pulling back on the drumstick. Put the legs back into the cast iron/grill/oven/stovetop until they too read 165 degrees.

2. Allow to Cool. Let the bird rest at least until the legs are finished cooking. This will prevent the juices from leaving the bird, and will help keep the breast juicy. After at least 20 minutes, cut a straight line down the spine. You will be cut…

2. Allow to Cool. Let the bird rest at least until the legs are finished cooking. This will prevent the juices from leaving the bird, and will help keep the breast juicy. After at least 20 minutes, cut a straight line down the spine. You will be cutting one on each side. You will then move on to the wings to allow the breast to cool a bit.

3. Wings. Gently pull back the wings so you can see the seam where they connect to the body of the bird. Cut along that seam until you can see the bone. Then gently cut the joint between the bones while pulling back on the wing with your nondominant…

3. Wings. Gently pull back the wings so you can see the seam where they connect to the body of the bird. Cut along that seam until you can see the bone. Then gently cut the joint between the bones while pulling back on the wing with your nondominant hand.

4. The Breast. Cut along the side of the spine while pulling back with your fingers. Your goal is to do a combination of pulling and cutting to release the breast in one large piece. 

4. The Breast. Cut along the side of the spine while pulling back with your fingers. Your goal is to do a combination of pulling and cutting to release the breast in one large piece. 

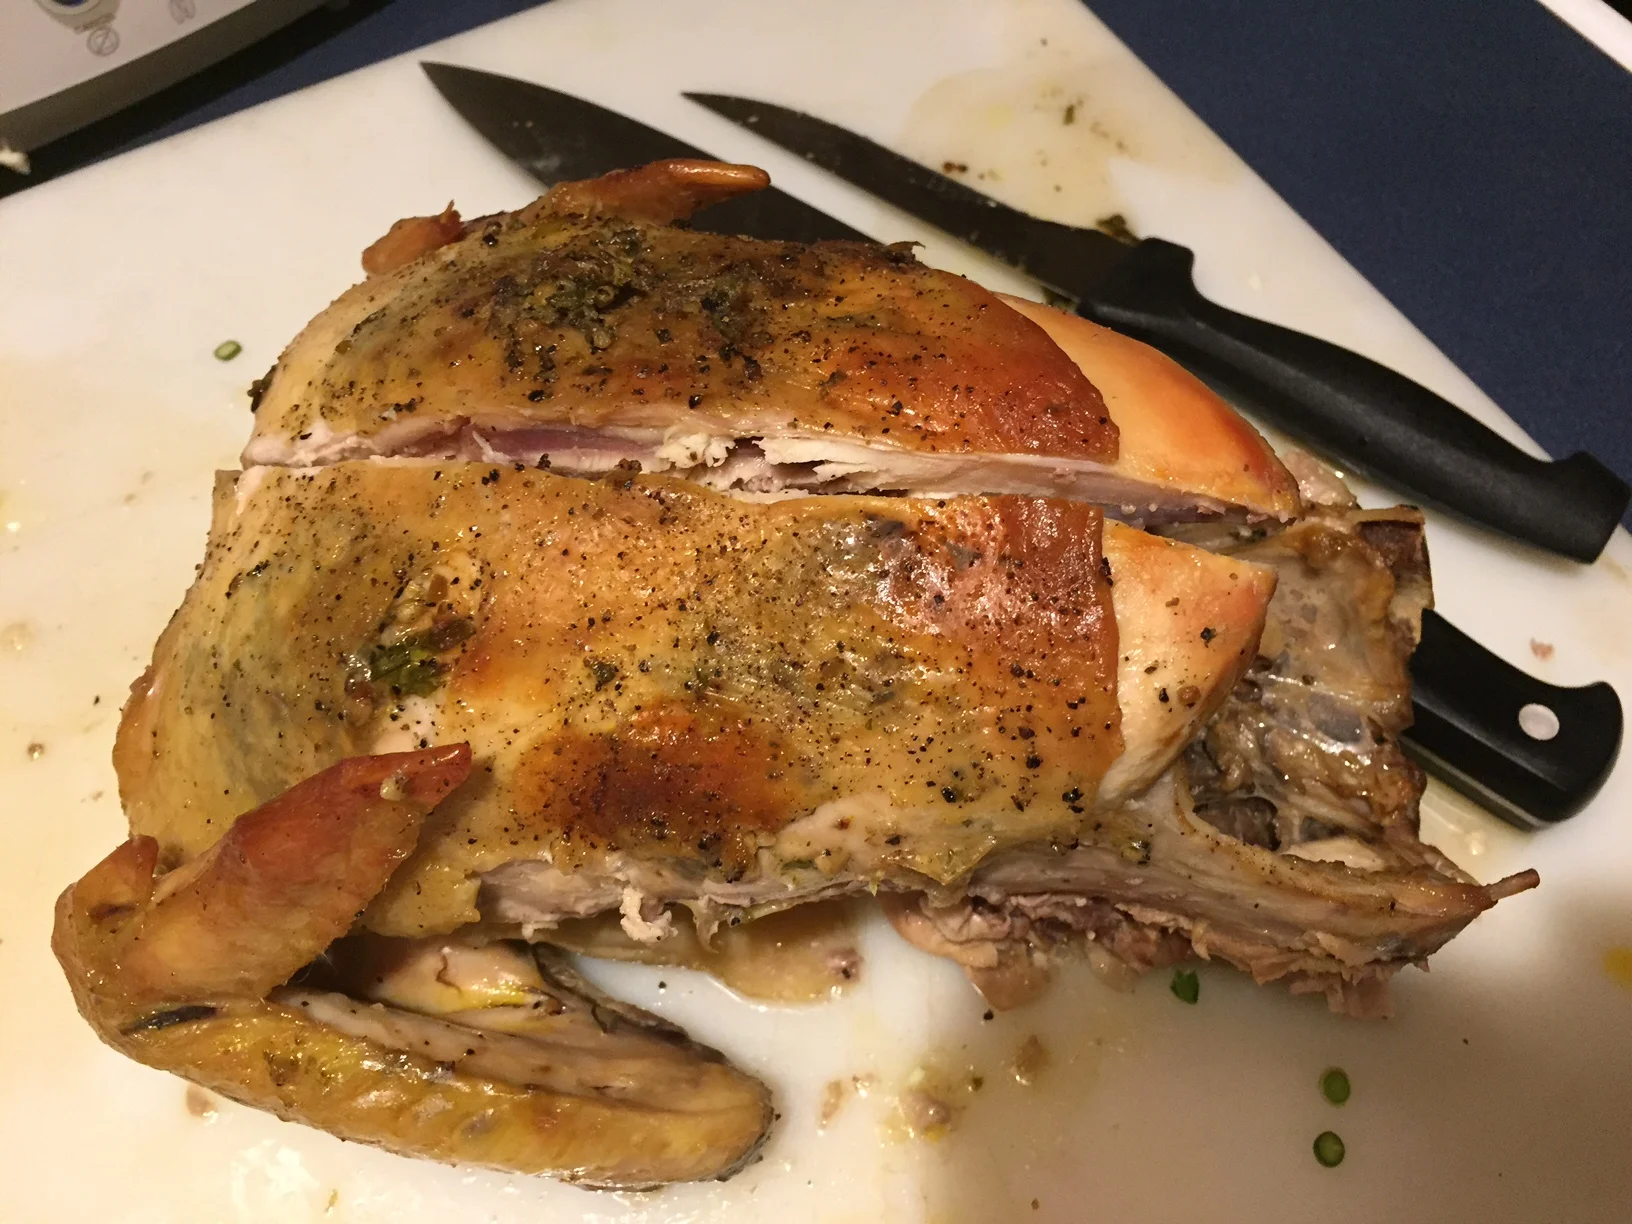
Here you can see the right side of the bird, which has already been carved, and the left side of the bird, where the breast is almost fully off of the body.

Here you can see the right side of the bird, which has already been carved, and the left side of the bird, where the breast is almost fully off of the body.

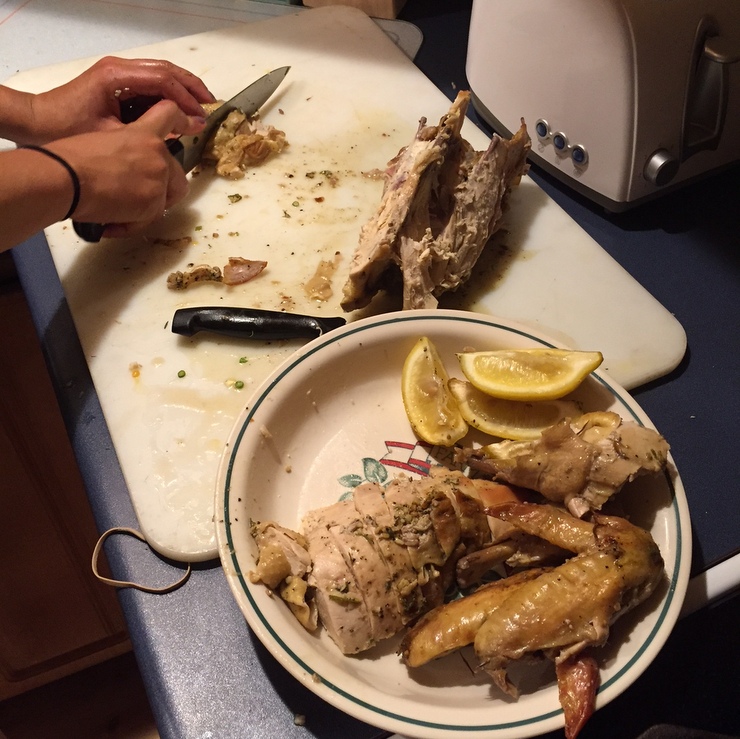
5. Finish. Once you have cut the breast off of the bird, you will take a larger chef's knife to finish. Cut against the grain with even spaced slices. Once you have cut the breast, scoop the entire sliced piece onto your knife, and gently place it o…

5. Finish. Once you have cut the breast off of the bird, you will take a larger chef's knife to finish. Cut against the grain with even spaced slices. Once you have cut the breast, scoop the entire sliced piece onto your knife, and gently place it on your serving platter.

2 Comments

Growing Garlic

1 Comment

Growing Garlic

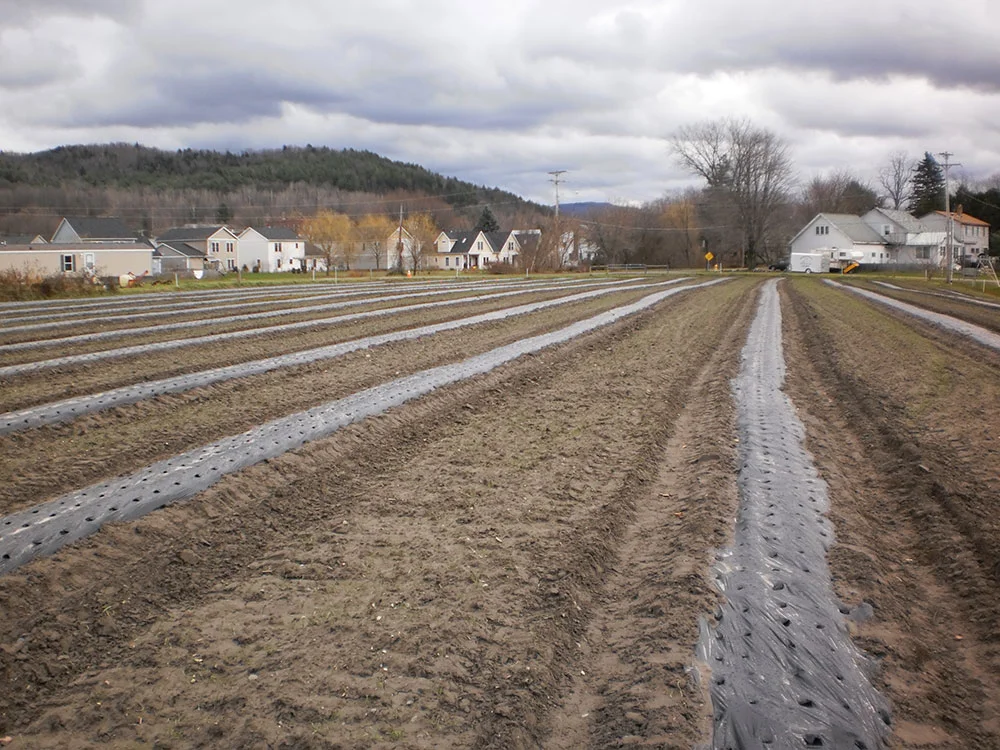
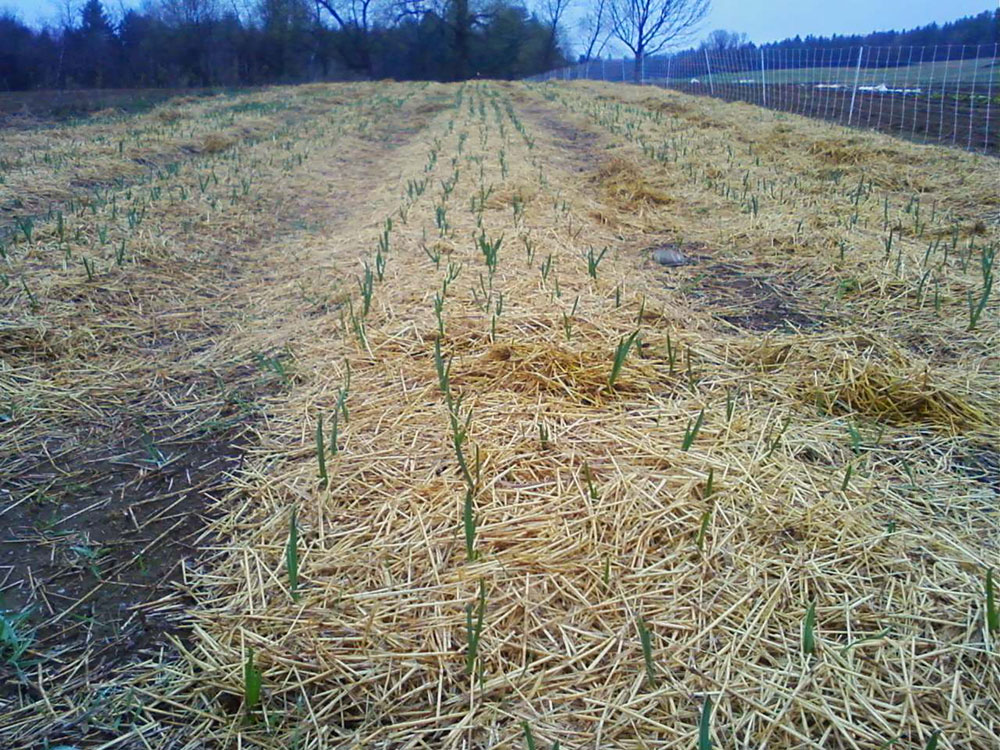
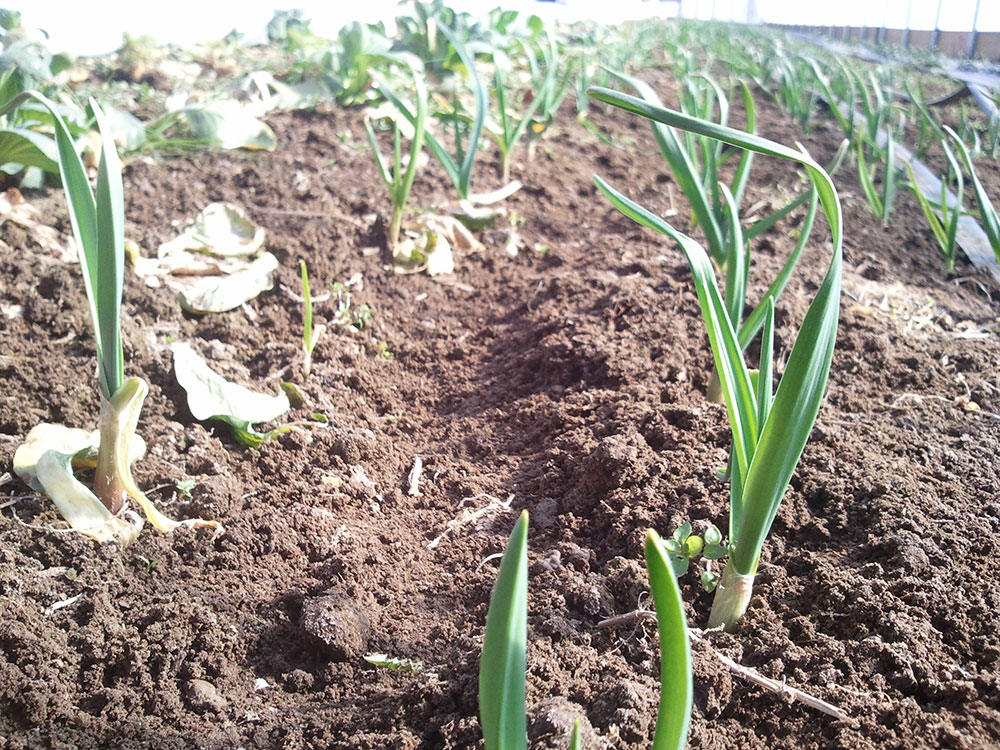
One of our favorite fall tasks is to plant garlic, which we do each November just before the ground begins to freeze. The goal is to get 8000 garlic cloves in the ground in time for them to set roots, but not too early so they don’t send up a green shoot until next spring. The JSF crew has been hard at work for the last two weeks and the cloves are snug in the soil until next spring, when they’ll be one of the first crops to break ground with their green shoots – sometimes even pushing through the lingering April snow cover.
 
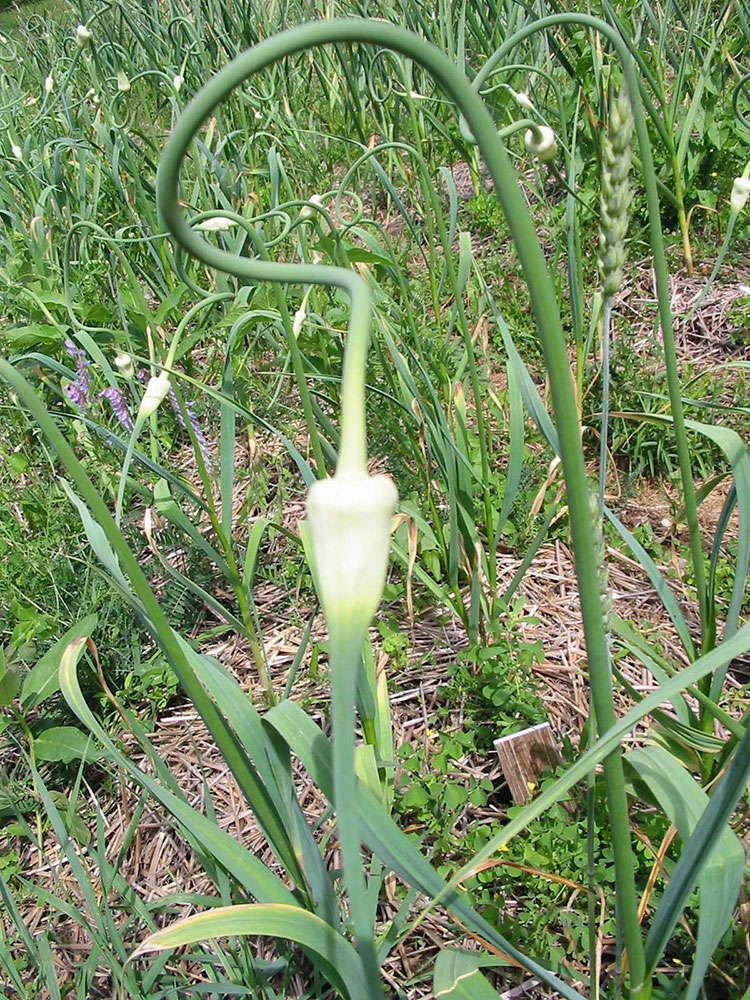
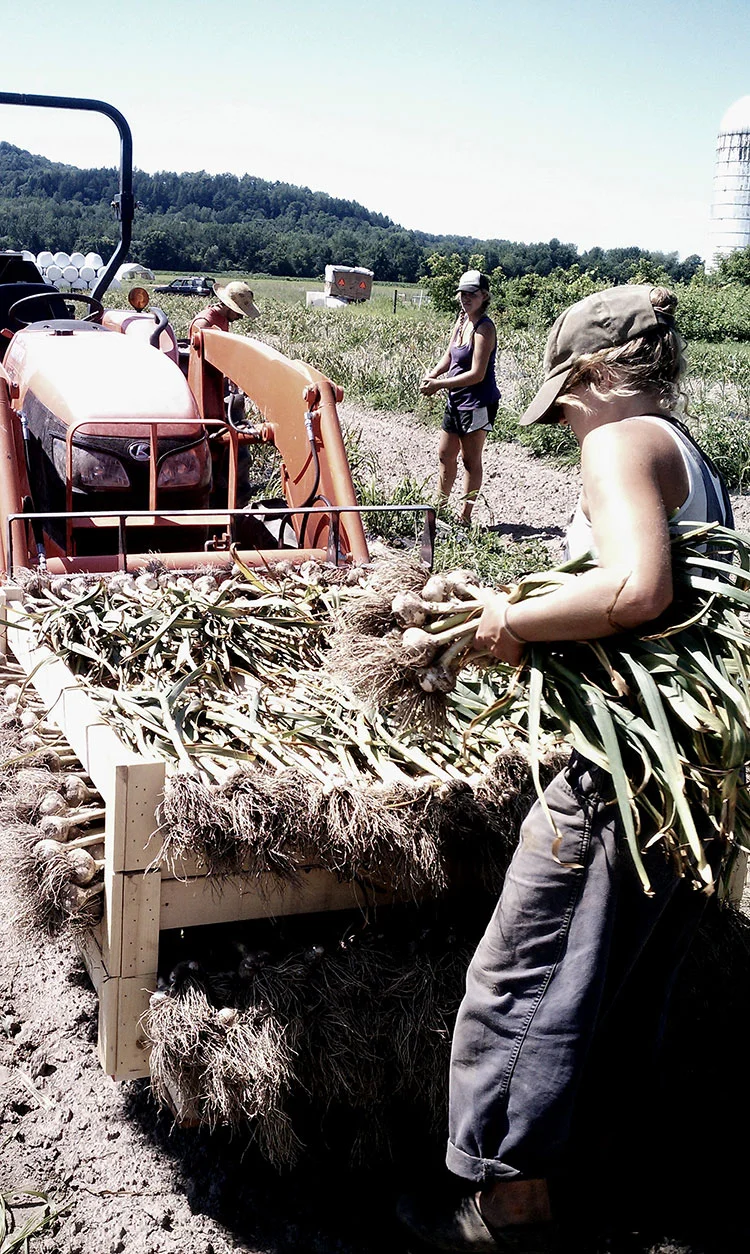
Garlic is a member of the Allium genus (along with chives, onions, leeks and scallions). At JSF we grow several hardneck varieties as they tend to do best through Vermont’s hard winters. French Rocambole and Russian Red Rocambole are two we grow for their intense strong flavor and easy peeling qualities. Hardneck garlics have one row of cloves surrounding a prominent stem, which is called a scape. Each summer when the scape emerges and sends up a tall stalk from the middle of the plant we cut them off so the plant puts its energy into making a big garlic bulb underground, rather than growing the scape into a flower. Scapes themselves are a tasty part of the garlic plant and can be grilled, sautéed, or added to pesto.  We also grow a softneck variety called Nootka Rose, as softneck varieties store for a long time through the winter, allowing us to eat garlic well into April. 
 
Try this easy roasted garlic recipe  – one of the best ways to eat garlic. Enjoy!


1 Comment

Comment

5 Tips for Making the Most of your Garden

Get the Most from your Garden!

Love to garden? We know the feeling. Our expert growers, Mark and Christa, have put together 5 quick tips for maximizing your garden this season.

1. Supplement the soil, but first SOIL TEST!

Soil testing is easy and the most important thing you can do for your soil and plant health.  It’s cheap ($14) and easy!  Just download the form you need from UVM Soil Lab here: http://pss.uvm.edu/ag_testing/?Page=soils.html

You’ll get your results back in two weeks and can use them to guide how much compost, manure, or other organic fertilizers your plants may need.  Most gardens benefit from adding organic compost or aged manure before planting, and then following up with a little extra nitrogen when the plants are about to set fruit (like a tomato plant) or bulk up their roots (like a beet plant).  One of the best way to provide this extra nitrogen is with an organic fertilizer blend.  Again, this is the most important thing you can do for your garden – and you can do it today.

2. Planning for Succession Planting

Make the best use of your space by planting early crops now (peas, lettuce, radishes) and when they're done in June plant something else (squash, zucchini, more lettuce).  Planting lettuce once per month provides young tasty greens all summer.  Same with cilantro and dill, if you love these herbs plant them often, as they will always bolt trying to set seed.  Leave in the older plants if you have the space and harvest the seed.

3. Space it out

It's tempting to cram it all in and over crowd your garden, but if you give plants enough room they'll actually grow better because they're not competing for light, water, and soil nutrients.

4. Weed it Often

No one really likes to weed, but it's important or your garden can become overrun with unwanted plants that out compete the plants you do want. Our motto is early and often - if you weed the plants out when they're young it's quick and easy and can usually be done with a hoe standing upright, verses down on your knees yanking out weed “trees”.

5. Involve the Whole Family

It's fun to watch plants grow and there's so much to discover in a garden.  Kids love checking in on "their" plants, counting the earthworms, and reaping the harvest – harvesting carrots and potatoes is particularly magical for kids, it’s like finding buried treasure!   And they love eating “their” vegetables.  Even if you don’t have room for a garden, a cherry tomato plant on the porch is irresistible to all who pass by.

Comment